

After a Miami storm, wait until conditions are safe and check for changes from the ground or indoors. Look for displaced roof material, debris, water entry or damage around gutters and edges. Stay clear of electrical hazards and loose materials. Take dated photos from safe locations and call a roofer to discuss the signs you can describe.
Start with the safety conditions around the property
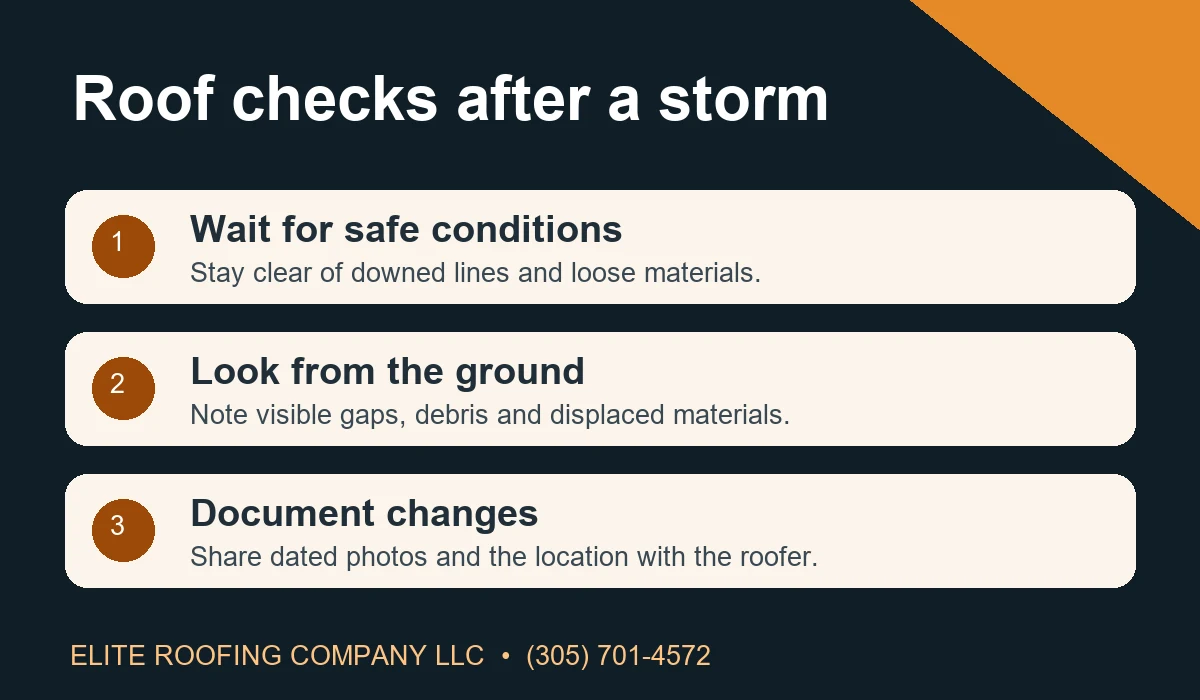
Wait for the severe weather to pass and follow local instructions before walking outside. Stay clear of downed lines, standing water with unknown hazards and loose material above walkways. If a tree or roof part has damaged the structure, keep people away from the area and contact emergency services for immediate danger. Take photos only if you can do so from a safe spot. At an occupied business, communicate the areas to avoid and use a designated contact to gather reports from staff or tenants. A roof inspection can follow once safe access and conditions are in place.
Compare roof edges and visible coverings
From a safe place, look at the roofline, ridges and areas around drains or gutters. Note visible gaps, pieces that appear displaced and debris left near the roof. When reporting what happened, specify whether the roof is tile, metal, shingles or low-slope if you know. Record which side of the property you see and which roof level is affected. On a multi-section house, point out the lower patio roof or addition separately. Keep clear of doors and paths beneath loose pieces. The aim is to tell the assessor where changes may be visible from the ground.
Record the first signs of water indoors
Write down which room showed water first and whether the stain is growing, dripping or seen after the storm passed. If a ceiling is sagging or water is near electrical equipment, stay away from that area. Ask an occupant of the space next door or below whether they saw a similar problem, when it is appropriate for the building. On a shared property, make sure the roof-access contact knows which unit and roof level may be affected. The first signs may give the roofer a starting point for checking flashings, roof openings and drainage.
Keep records that show what changed
Label photos with the date, address and location. Take a wide view from a safe place and an additional view showing the relevant area when possible. Include any old pictures or repair documents you already have. Comparing older records with what is visible after the storm can help document the condition before and after the event. Save any receipts for work already performed and any notes shared by the property manager. If you contact your insurer, ask it directly about documentation and deadlines. Keep copies of the materials you provide so the roofer, owner or manager can review the same record.
Ask what the assessment can confirm
Report visible changes and active water entry. A roofer may need to evaluate the roof covering, perimeter, flashings, penetrations or areas where water can back up. Ask which conditions were observed and which areas require additional access. A recurring stain that became more obvious during the storm may have its own history. Share previous roof work, similar weather reports and any drainage symptoms from earlier events. A written description and safe photographs can help identify the work proposed and what it addresses. Ask which areas are beyond the assessment or could require another specialist to examine.
Separate immediate protection from permanent work
Ask how a temporary measure, if feasible, would be documented and when the affected area should be reassessed. Permanent repairs may require a broader inspection to check whether adjoining materials, underlayment or decking were affected. Compare the written scope, material choices and plan for access. Verify with the applicable department whether the scope requires a permit. For Miami city addresses, the city publishes post-storm permitting information. Discuss site logistics for material delivery, debris handling, business or residential access and scheduling when weather allows. Ask who will authorize changes if concealed conditions require more work.
Watch for changes after the first report
Record any newly affected rooms or visible changes from the same safe observation point. Keep a simple list by day if rain continues or access is delayed. Tell the roofing office if the condition worsens, a new roof section shows damage or other people report water entry. Avoid inspections during rain or while loose materials and utilities present hazards. When the assessment is complete, file the notes and photos together with the work scope, any permit records and the information about temporary measures. A complete record can help the person responsible for the property verify what was covered.
Make the first call easy to route
Give the Miami office the full street address and ZIP code, property type and a callback number. Say whether water is coming in now and where the damage is visible. If debris limits access or a building manager needs to let someone in, explain that early in the call. Bring photos or roof records when they are available. Ask about scheduling and what to have ready for an assessment of the roof. If you are coordinating multiple buildings, give each property its own notes and contact. This helps the office connect the right observations and access instructions to the right address.
Check local notices as access resumes
A property can be affected by utility work, blocked roads or changes in municipal services even after rain clears. Check official local notices when scheduling an assessment and tell the roofing office about any access restrictions at the property. For a shared building, use one person to collect updates and route them to the owner or manager. Ask that person to keep a record of unsafe areas, changes since the first report and the preferred place to meet when access is available. Have the responsible property contact verify permit information and keep records associated with the affected building. If the building has multiple roof levels, mark the one involved in each report. Keep the original time and location with any new observation so the assessor can tell when each change was first observed.